azure.microsoft.com
Cloud can be tricky sometimes. Find out what scenarios we've ran into that are worth being mentioned and explained.
Overview
In Microsoft Azure, efficiently managing resources is a key aspect of optimizing costs, especially in scenarios like testing environments where running virtual machines (VMs) continuously might not be necessary. The Auto Shutdown feature in Azure enables users to automatically turn off and deallocate VMs, preventing unnecessary costs and saving time. In this guide, we'll explore the step-by-step process of enabling Auto Shutdown for Virtual Machines through the Azure portal.
Step 3: Access Auto-shutdown Configuration
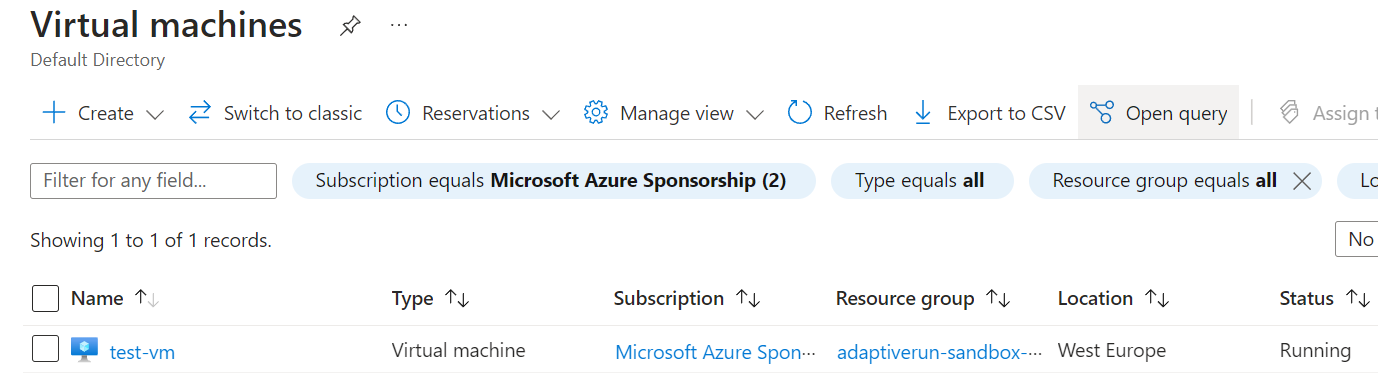
After selecting the desired VM, scroll down through the options available for that VM. Under the "OPERATIONS" section, you'll find a configuration option named "Auto-shutdown."
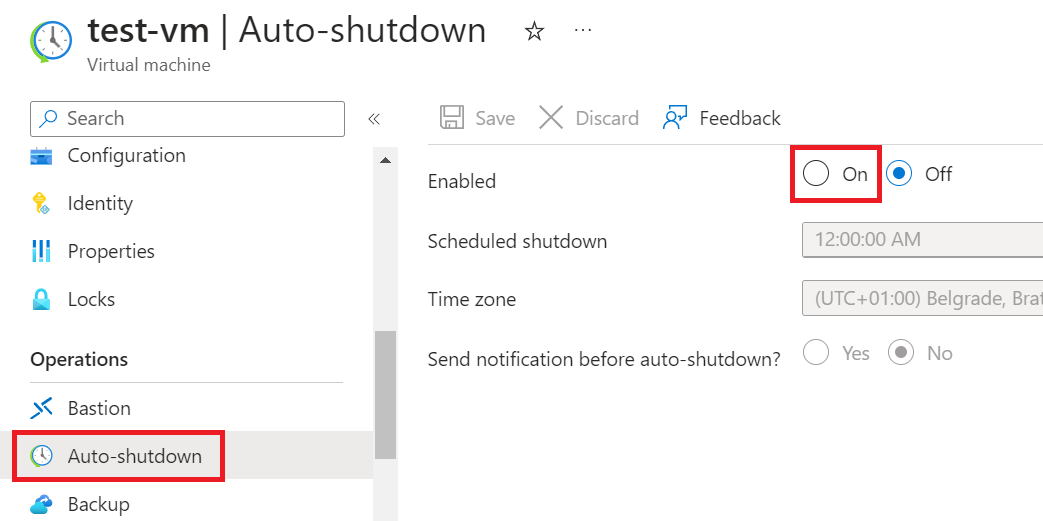
Step 4: Configure Auto Shutdown
Click on the "Auto-shutdown" configuration option to access the settings. Here, you can define the specific time you want the VM to automatically shut down. Adjust the time settings according to your requirements.
Step 5: Save Configuration
Once you have configured the Auto Shutdown settings, click on the "Save" button to apply the changes. This action ensures that the VM will now follow the specified schedule for automatic shutdown.
Using Azure Resource Manager (ARM) Templates for Efficiency
If you find yourself deploying multiple VMs and wish to streamline the process of enabling Auto Shutdown, Azure Resource Manager (ARM) templates provide a more efficient solution.
Step 1: Implement ARM Templates
Consider using ARM templates for consistent and automated VM deployments. With ARM templates, you can include the Auto Shutdown configuration directly in the deployment script, ensuring that every VM adheres to the same shutdown schedule.
Step 2: Define Auto Shutdown Settings in ARM Template
Within your ARM template, include the Auto Shutdown configuration settings. For example:
"resources": [
{
"type": "Microsoft.Compute/virtualMachines",
"apiVersion": "2019-07-01",
"name": "YourVMName",
"location": "YourLocation",
"properties": {
// Other VM properties...
"osProfile": {
// OS profile settings...
},
"autoShutdownSettings": {
"enabled": true,
"autoShutdownDelayMinutes": 30,
"autoShutdownTime": "1700"
}
}
}
]
This snippet illustrates how to embed Auto Shutdown settings directly into your ARM template.
Conclusion
By following these straightforward steps, you can enable Auto Shutdown for your Azure VMs, promoting efficient resource management and cost savings. Whether through the Azure portal for individual VMs or utilizing ARM templates for larger deployments, automating the shutdown process enhances your ability to control costs and streamline operations in your Azure environment.

Transform your business.
Run adaptive.
Phone: +40 73 523 0005
Email: hello@adaptive.run