azure.microsoft.com
Cloud can be tricky sometimes. Find out what scenarios we've ran into that are worth being mentioned and explained.

• Specify the disk name, size (in GB), and choose other optional settings.
• Click "OK" to confirm and add the new disk.
6. Save Configuration Changes:
• After adding the disk, click "Save" at the top of the VM page to apply the changes.
RDP into the Virtual Machine and Mount the Disk
After successfully adding a new disk to your Azure virtual machine through the Azure portal, the next steps involve connecting to the VM using Remote Desktop Protocol (RDP) and configuring the newly attached disk. This section guides you through the process of RDPing into the VM and mounting the disk using PowerShell commands.
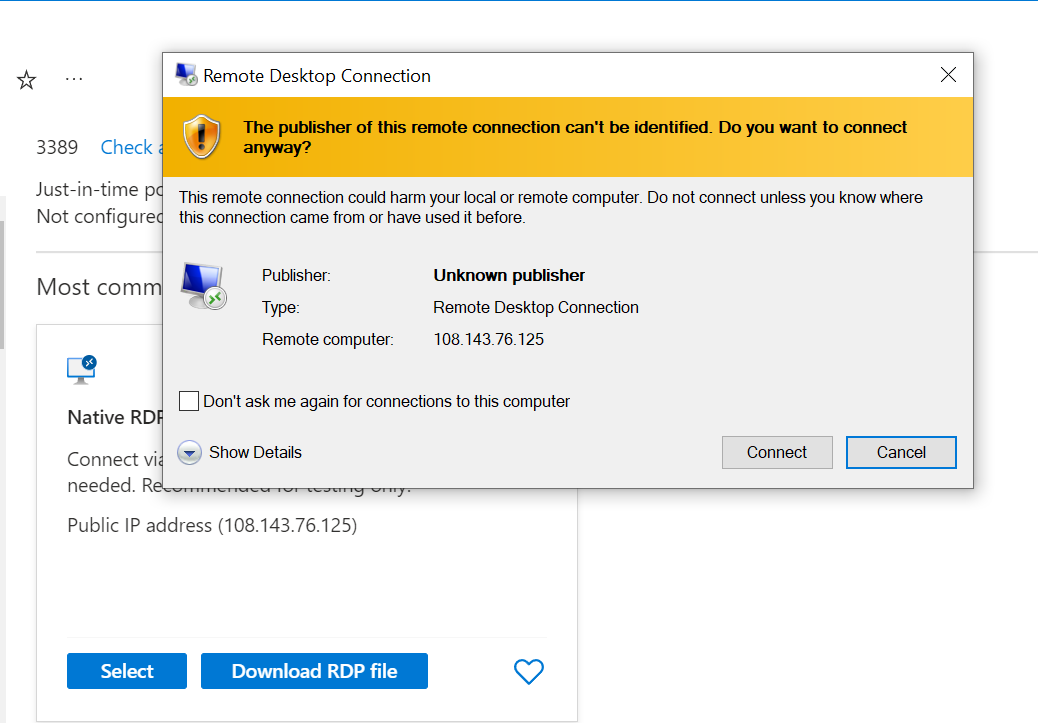
2. Connect to the Virtual Machine:
Enter the password you’ve created for your VM.
Click "Connect" to establish an RDP session.
3. Login to the Virtual Machine:
Enter the username and password for your Azure VM to log in.
4. Open PowerShell:
• Once logged in, open PowerShell as an administrator on the remote machine.
5. List Available Disks:
• Use the Get-Disk cmdlet to list available disks on the VM.
Get-Disk
Identify the newly attached disk, typically represented with a size matching the one you added.
6. Initialize the New Disk:
Use the Initialize-Disk cmdlet to initialize the newly added disk.
Initialize-Disk -Number
-PartitionStyle MBR
New-Partition -DiskNumber
-UseMaximumSize
Format-Volume -DriveLetter D -FileSystem NTFS -NewFileSystemLabel "NewDisk"
Transform your business.
Run adaptive.
Phone: +40 73 523 0005
Email: hello@adaptive.run